High Bill? Check for Leaks
High Bill?
If your bill is higher than expected:
- Check the days of service – is this for a longer billing period than the bills to which you are comparing?
- Check your usage – did your usage increase?
- If so, did you do anything differently during this time period? Were there additional persons staying at the property?
- Did you have a leak?
- Is this your winter bill? Your sewer usage “cap” or maximum for single and two family residential properties resets every winter to match your water usage for the period. You can read more about Sewer Usage and Winter Average.
GCWW recommends that you enroll online via myGCWW Customer Care Portal to monitor your monthly usage. This can be one of the easiest ways to catch a water usage issue early.
If your usage has increased, GCWW encourages you to review the below information and follow the below step-by-step instructions to check for leaks.
If you have reviewed the below information and still have questions or concerns about your bill, please contact us at help@mygcww.org or 513-591-7700. Office hours are 7:30am through 5:30pm, Monday through Friday.
What Leaks Waste
High bills usually mean a leak, and potentially hundreds of gallons of water down the drain.
Not only is your water wasted, but it registers through your meter and could cost you as much as several hundred dollars a month.
- Dripping Faucet: Consumes 15 gallons a day, or 60 cubic feet per month
- Running Toilet: May consume up to 12 gallons a minute
- 1/16-Inch Opening: Consumes 943 gallons a day, or 3,773 cubic feet per month
- 1/4-Inch Opening: Consumes 60,900 gallons per day, or 243,600 cubic feet per month
Please note: the excess water use, identification and repair of leaks within your private plumbing system, as well as the associated costs, are the responsibility of the property owner.
GCWW Step-by-Step Instructions for Checking Water Leaks
If you are unable to find and repair leaks by following the steps below, you may want to contact a plumbing professional.
Step 1: Test your toilet(s).

The most common leak in a household is caused by a faulty toilet(s). There are three ways to check for toilet leaks.
-
Check the bowl for ripples.
- Flush the toilet and wait five (5) minutes.
- Check the water in the bowl for ripples.
-
Perform a dye test.
- Simply put a few drops of food coloring in the tank and check the bowl in one hour.
- Check if colored water is getting into the bowl.
If you see ripples in the bowl or if colored water is getting into the bowl, you likely have an “improper seating leak.”
This problem can be corrected, depending on the cause, by:
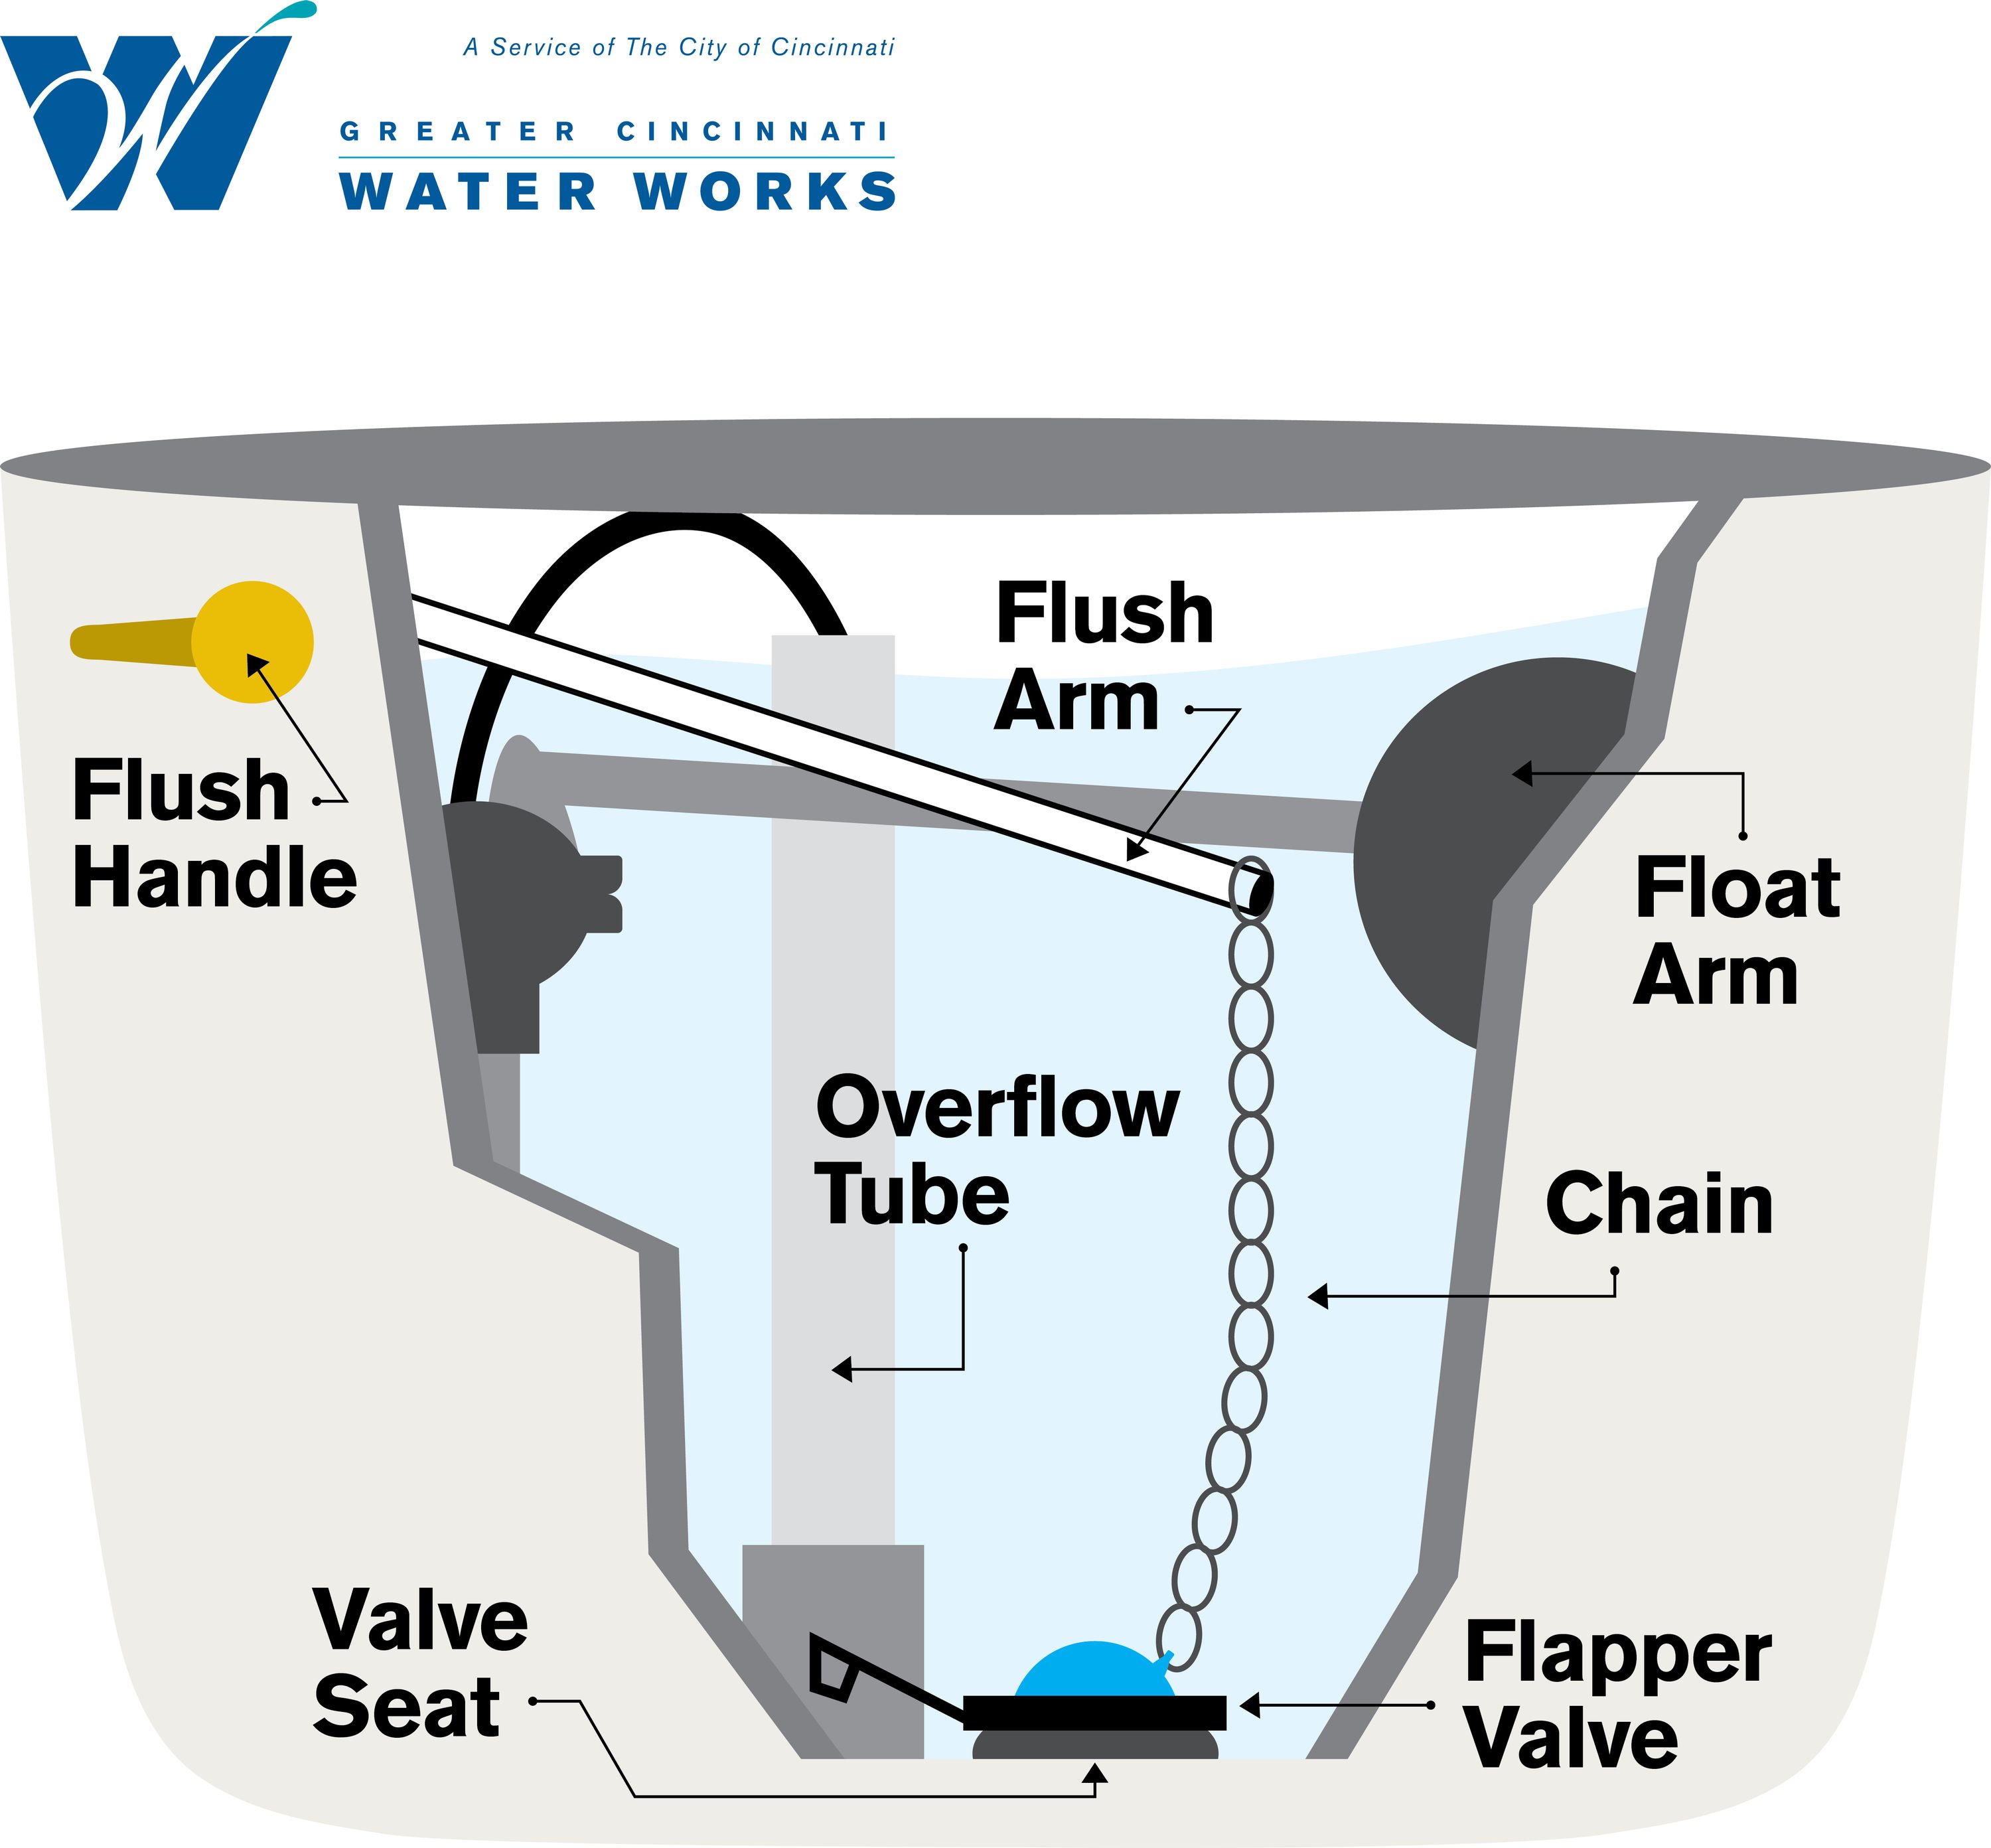
- Tightening a loose handle; straightening the control arm if it is rubbing; replacing a sticking rod guide or ball rod; cleaning a corroded valve seat; or replacing a faulty tank ball
-
Check the tank.
- Remove the top of the tank.
- Find the overflow tube in the center of the tank.
- Check the water level. It should be about one (1) inch below the top of the overflow.
If the water is above the overflow, you likely have a “continuous overflow leak or
If the toilet(s) does not appear to be leaking, proceed to step 2.
This problem can be corrected, depending on the cause, by:
- Bending the end of the float ball rod down; replacing a float ball which has filled with water; or replacing a faulty or corroded float ball shut-off valve.
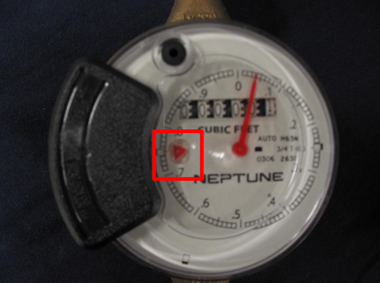
Step 2: Observe the test dial on the water meter itself.

- If your water meter is outside in an underground enclosure, access it by carefully unscrewing the locking nut on the outer lid. Take caution in removing both the outer and inner lids so as not to pinch or crimp the wiring. Please use the same care in replacing the lids when complete.
- If your water meter is inside, it is most often located in the basement or in a utility room.
- If it is turning and your water meter is outside, see step 3.
- If it is turning and your water meter is inside, skip to step 4.
- If it is not turning, you may still have an irregular leak. Please contact your plumber.
.png)
Step 3: Check the service line (outside meters only)
If your test dial is turning and your water meter is outside, the next step is to determine where the water is going by checking the service line.
- Find a valve inside the building where water first enters. This valve is generally in line with the meter and located in the lowest level of the building.
- Turn the valve off and check the test dial.
- If the test dial is still moving, you may have an underground leak between your water meter and the valve. Repairs on this line are your responsibility as the property owner.
- If the test dial is not moving, you have stopped the water flow by operating the valve and determined that the leak is beyond your valve. Proceed to step 4.
Step 4: Checking for private plumbing leaks
If your test dial is turning, the next step is to check for private plumbing leaks.
- Turn off all water-using appliances and fixtures one-by-one checking the test dial as you go. Be sure to include clothes washers, dishwashers, ice makers, humidifiers, boilers, irrigation systems, hose bibs, and showers, as well as all faucets.
- Continue until you have isolated the faulty device(s).
- Make your repairs.
- Check the test dial once more to be sure the problem has been resolved.
